How to Make Emergency Candles Using Crisco: Real-Life Survival Light
Why Crisco Emergency Candles Became My Go-To Light In A Crisis
When you’re sitting in the dark during a blackout, you realize fast what actually matters in your emergency kit. A Crisco candle isn’t just cheap—it’s reliable, burns clean, and outlasts almost everything else you’ve stockpiled.
Unexpected Blackouts And The Crisco Candle Discovery
I’ll be honest with you—I learned about Crisco candles the hard way. Picture this: late January, ice storm rolled through, and my power went out for three days straight. My flashlight batteries were dead. My fancy camping lantern? Somehow missing when I needed it most.
All I had left was half a birthday candle and a tub of Crisco I’d bought months earlier. I remembered seeing something online about using shortening as an emergency candle, so I grabbed some cotton string from my junk drawer and gave it a shot.
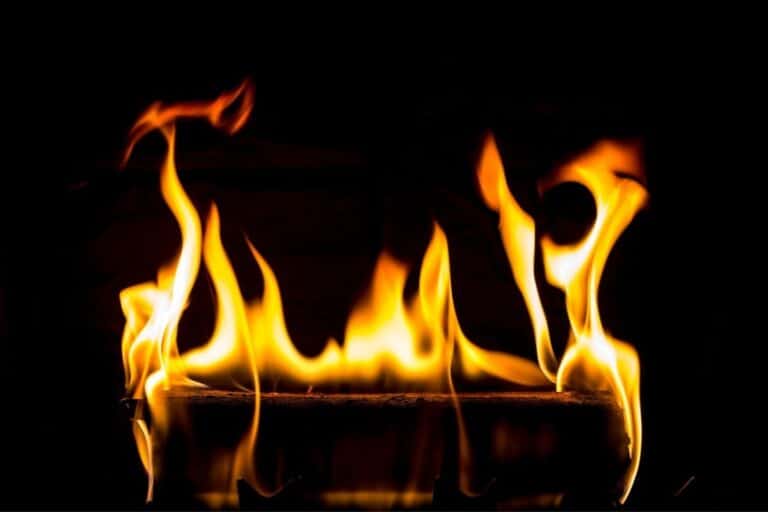
That flame burned steady for hours. No smoke. No weird smell. Just calm, reliable light when everything else had failed me.
That’s when I stopped trusting gear I’d never tested and started keeping Crisco in my emergency stash permanently. It’s not about being fancy—it’s about what actually works when the chips are down.
What Makes Crisco The Ultimate Emergency Candle Fuel
Here’s what makes an emergency Crisco candle different from everything else you’ve tried:
Burn time that blows your mind. A full one-pound tub can burn for 50 to 70 hours with just one wick. Compare that to a store-bought emergency candle that gives you maybe 8 hours if you’re lucky.
Clean burn, zero nasty fumes. You’re not choking on perfume or paraffin chemicals. It’s just vegetable shortening doing what fat does best—burning slow and steady.
Multi-purpose survival tool. If you don’t need light, you can still cook with it. Try doing that with a wax candle.
Shelf-stable for years. I’ve had the same tub sitting in my kit for over a year with zero issues. No melting. No spoiling. Just ready when I need it.
The cost alone makes it worth keeping around. You’re spending maybe four bucks on something that can replace a dozen overpriced emergency candles.
Comparing Crisco Candles To Store-Bought Emergency Candles
Let me break down how they stack up side by side:
| Factor | Crisco Candle | Store-Bought Emergency Candle |
|---|---|---|
| Burn Time (per ounce) | 50-70 hours for full tub | 8-10 hours average |
| Cost | $4-5 per tub (makes multiple candles) | $10+ for a couple candles |
| Smoke & Smell | Clean burn, no odor | Often chemical smell from wax |
| Storage Life | Years if sealed properly | Varies, can crack or melt |
| Customizable Size | You choose the container | Fixed size only |
I’ve tested both during actual outages. The Crisco version wins every time on burn time and cost. Store-bought emergency candles have their place, sure—but when you need light that lasts through multiple nights and doesn’t drain your wallet, shortening is the smarter play.
Plus, you can make travel-sized versions in small tins for your bug-out bag or truck kit. Try squeezing a traditional emergency candle into an Altoids tin without making a mess.
Gear Up: What You’ll Need To Make Your Own Crisco Candle
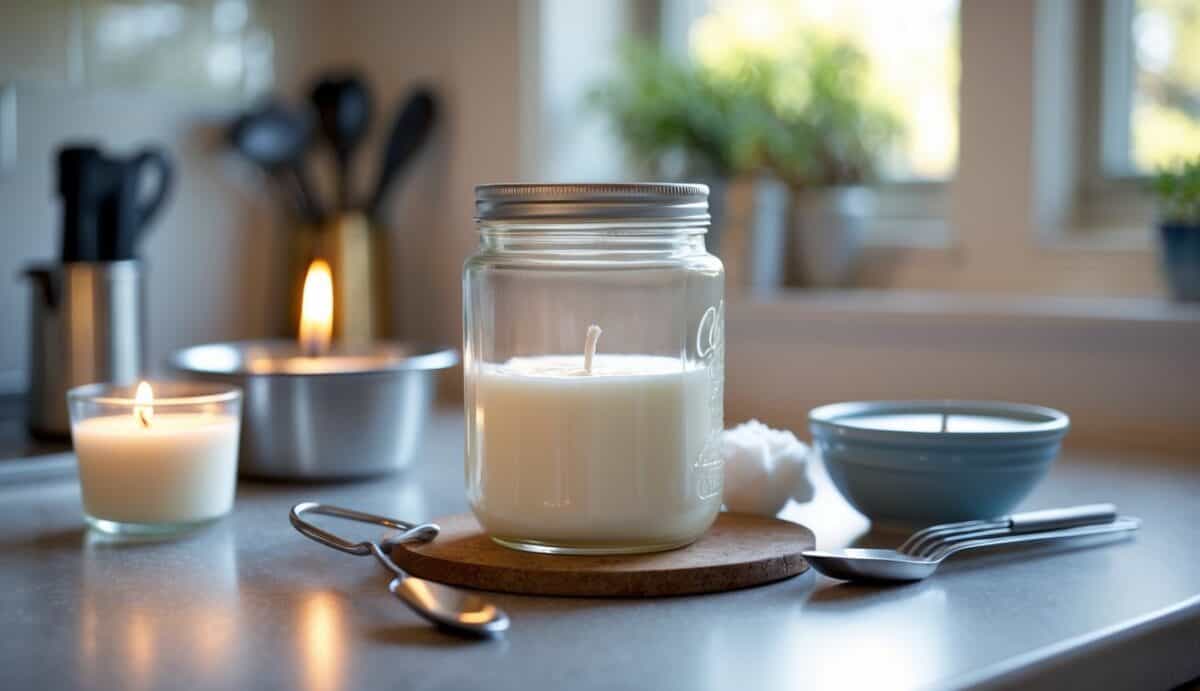
You don’t need a supply run to the craft store or some fancy candle-making kit. A basic Crisco candle needs three things: something to burn in, something to burn, and something to light it with.
Choosing The Right Container (And What To Avoid)
You can burn Crisco right in the original can it comes in. I’ve done it dozens of times during power outages. Just pop open the lid, stick a wick in the center, and you’re good to go for days.
But here’s the catch: cardboard tubs get hot. Really hot. The metal rim conducts heat like crazy, and if you’re not careful, that cardboard can char or even catch fire if the flame gets too close to the edge. I learned this the hard way when I left one burning unattended on a wooden shelf.
If you want something safer, glass jars work better for Crisco candles. Mason jars are perfect. They’re heat-resistant, you can seal them when not in use, and they won’t tip over easily. You can also use metal tins or even ceramic bowls.
Avoid plastic containers entirely. They’ll melt. Don’t use anything thin or decorative either.
If you go the jar route, you’ll scoop Crisco out of the original container and pack it into your chosen vessel. Leave about half an inch at the top so the melted shortening doesn’t overflow when it heats up.
Wicks: Store-Bought, DIY, Or Scavenged
Pre-waxed candle wicks are the easiest option. You can grab them at any craft store or online. A 9-inch wick works well for a standard can of Crisco. Just push it straight down into the center and you’re done.
But what if you don’t have wicks on hand? That’s where improvising comes in. I’ve used cotton string, twisted strips of cotton fabric, even shoelaces in a pinch. The key is using natural fiber—cotton or hemp—not synthetic stuff that’ll melt or release toxic fumes.
Here’s a trick: roll up newspaper into a tight tube about the width of a pencil. It burns surprisingly well and lasts longer than you’d think. You can also braid three strands of cotton string together for a thicker, slower-burning wick.
Whatever you use, make sure it’s long enough to reach the bottom of your container with a couple inches sticking out the top. You want the wick soaking up melted Crisco as the candle burns.
Optional Add-Ons: Scents, Colors, And Dyes
Plain Crisco doesn’t smell bad when it burns. It’s basically odorless, which is one reason it makes such a good emergency candle. But if you want to get fancy, you can add a few drops of essential oil before you light it.
I’ve tried lavender and peppermint. Both worked fine and gave off a subtle scent without overpowering the room. Don’t go overboard though—a little goes a long way, and too much oil can affect how the candle burns.
You can also add candle dye or even food coloring if you’re making this for everyday use instead of emergency prep. Mix it into the Crisco before packing it into your container. Just remember: the more stuff you add, the more variables you introduce.
For a true emergency setup, I skip all of this. Keep it simple, keep it functional, and save the Pinterest-worthy stuff for when the lights are on.
Step-By-Step: My Proven Method For Making A Crisco Candle
I’ve made dozens of these candles over the years, and the process has become second nature. You’ll need to prep your wick properly, get the consistency right if you’re melting it, and know how to finish it so it burns clean and safe.
Prepping The Wick And Container Like A Pro
Your container needs to be heat-safe and stable. I use the original Crisco tub most of the time because it’s already the perfect size and shape.
Metal tins work great too—like old Altoids containers or small soup cans. Glass jars are fine, but make sure they’re thick enough to handle heat without cracking. Never use plastic.
For the wick, cotton string or butcher’s twine is your best bet. You can also twist a paper towel into a tight rope if that’s all you’ve got. I cut mine about an inch taller than the container depth.
Here’s what I do:
- Push the wick straight down through the center of the Crisco until it hits the bottom
- Lay a pencil or chopstick across the top of the container
- Wrap the wick around it to keep it centered and upright
- Make sure at least half an inch sticks up above the surface
If you’re scooping Crisco into a smaller container, pack it in tight so there aren’t air pockets. Those can cause uneven burning later.
Melting And Pouring: Getting The Perfect Consistency
You don’t have to melt Crisco to make a candle, but if you want a smoother finish or you’re filling multiple small containers, melting makes the job easier. I heat it on low in a pot until it’s just liquid enough to pour.
Don’t overheat it. You’re not frying anything—just softening it. If it starts smoking, you’ve gone too far.
Pour slowly into your prepared container with the wick already in place. The Crisco will settle around the wick naturally. If the wick shifts, use your pencil to nudge it back to center before the shortening cools.
Let it sit at room temperature for a few hours to firm up. Don’t rush this by putting it in the fridge—that can cause cracking. Once it’s solid, your candle is ready to burn.
Finishing Touches: Trimming, Setting, And Lighting Up
Before you light it for the first time, trim the wick down to about a quarter inch above the surface. This helps it catch easier and burn more evenly.
When you’re ready to use it, place the candle on a heat-safe plate or tray. Keep it away from curtains, paper, or anything flammable. Light the wick like you would any candle—it might take a few seconds to catch at first.
The flame will start small, then grow as the Crisco around the wick melts. You’ll notice a small pool of liquid forming around the base of the wick. That’s normal and exactly what you want.
Quick safety checklist:
- Never leave it unlit and unattended
- Keep it on a stable, level surface
- Blow it out if you’re leaving the room
- Store extras in a cool, dry spot
Once you’ve made your first Crisco candle, you’ll realize how simple the process really is. You can prep a few at a time and stash them in your emergency kit or take them camping.
Quick-Start: Super-Simple Ways To Make A Crisco Candle In A Pinch
When the power clicks off and you’re scrambling in the dark, you don’t need a Pinterest-perfect craft project. You need light—fast. The good news is that making an emergency Crisco candle takes about two minutes if you keep it simple.
Using The Original Crisco Tub As Your Candle Base
The absolute fastest way to get light is to skip the extra containers entirely. Just grab your tub of Crisco, pop the lid, and jam a wick straight down the center until it hits the bottom.
I use cotton string, butcher’s twine, or even a thick shoelace if that’s all I’ve got. The key is making sure it’s cotton—synthetic fibers will melt and smoke. Push it down deep so it soaks up the shortening, then prop a pencil or chopstick across the top of the tub to hold the wick upright.
Give the exposed part of the wick a few seconds to dry if it’s too saturated. Then light it. That’s it. You’ve got yourself a Crisco candle that can burn for 50 to 70 hours with a single wick.
I’ve done this during storm blackouts more times than I can count. No mess, no transfers, no extra gear. Just open, wick, light.
Improvising With Household Items For Wicks And Holders
If you don’t have actual wicks lying around, you can make one from almost anything cotton-based. Twist up a strip of cotton t-shirt, braid three pieces of cotton string together, or roll up a paper towel into a tight rope. I’ve even used the cotton core from a tampon in a pinch—it works surprisingly well.
For holders, think small and fireproof. Empty tuna cans, metal jar lids, or even a ceramic coffee mug will do. Scoop a few spoonfuls of Crisco into your container, press your improvised wick into the center, and you’re good to go.
The flame might flicker a bit more than a store-bought candle, but it’ll give you light when you need it most. And honestly, that’s all that matters when you’re sitting in the dark wondering how long the outage will last.
Safety First: Keeping You, Your Home, And The Candle Out Of Trouble
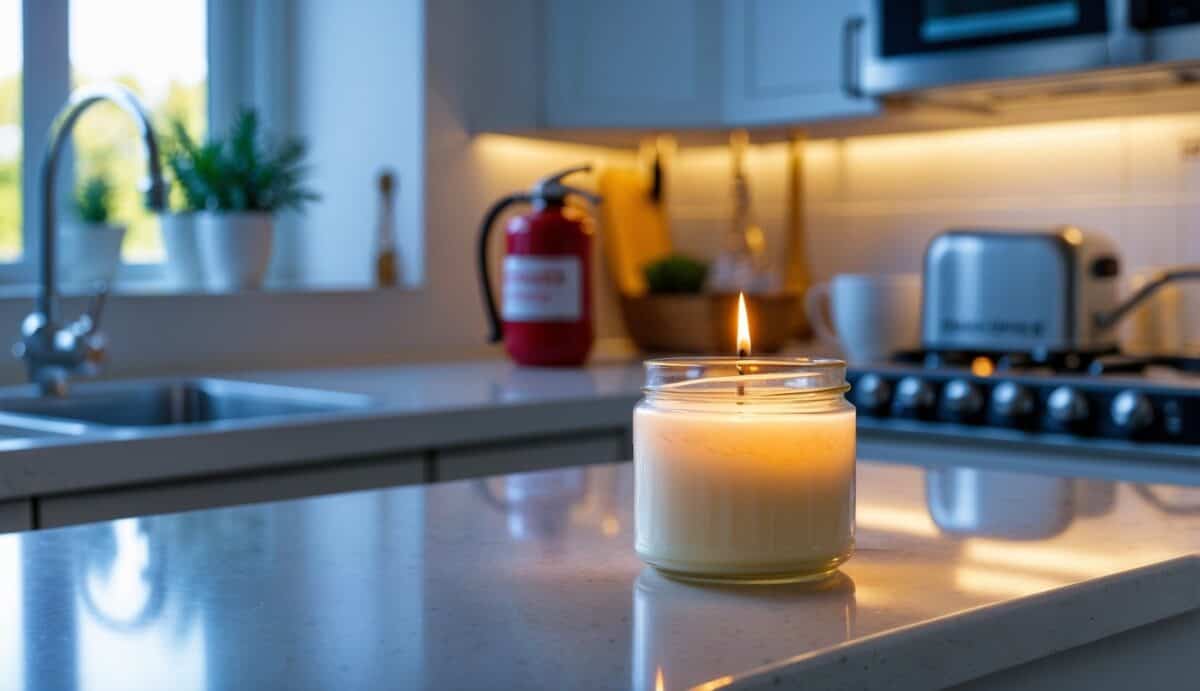
Making a Crisco candle is simple, but treating it carelessly can turn your emergency light into an actual emergency. You need to understand basic fire safety rules before you light anything, know where to place your candle while it burns, and learn how to store it properly when you’re done.
The Must-Know Dos And Don’ts Of Candle Making
I’ll be honest with you—the first time I made a Crisco candle, I almost set it up on a wobbly shelf. Bad idea.
Always work in a well-ventilated area when you’re setting up your emergency candle. The shortening produces black smoke when it burns, and you don’t want to breathe that stuff in. Open a window or work near a door.
Use pre-waxed wicks from a craft store. Regular string won’t work the same way. Cut them to the right length so they stand upright in the shortening without falling over.
Keep these rules in mind:
- Never leave flammable items within 12 inches of your candle
- Use a level, stable surface that won’t tip
- Keep the Crisco can away from the edge of tables or counters
- Don’t touch the can while the candle is burning—the metal gets hot
- Have a way to extinguish the flame nearby
Following proper candle safety measures means keeping combustible materials far away from any open flame. Three out of five candle fires happen because something flammable was too close.
Safe Placement And Monitoring During Use
You’ve made your Crisco candle. Now where do you put it?
Never walk away from a burning candle. I know that sounds obvious, but people do it all the time. Extinguish all candles when leaving the room or going to sleep.
Place your emergency candle on a heat-resistant surface like metal, ceramic, or stone. Not wood. Not plastic. Not cardboard. The shortening will liquify as it burns, and that can get messy if the container tips.
Watch for these danger signs:
- Flame getting too high
- Excessive smoke
- Can becoming unstable
- Liquid shortening pooling unevenly
Keep kids and pets away from the burning candle. The flame might look small, but it’s still fire. If you’re using your Crisco candle during a power outage, mark the area around it so people don’t bump into it in the dark.
Check on it every 15 to 20 minutes. You’re not babysitting it, but you should know what’s happening.
Storing Leftover Crisco Candles For Next Time
Here’s what makes a Crisco candle brilliant for emergencies—you can snuff it out and reuse it later.
When you’re done using the candle, blow it out and let the liquified shortening cool completely. This takes about 30 minutes. Once cooled, replace the Crisco lid and store it in a cool, dry place.
The wicks will stay in place. The shortening will resolidify. And you can relight it whenever you need light or heat during the next emergency.
Best storage practices:
- Keep the lid sealed tight to prevent the shortening from absorbing odors
- Store away from direct sunlight or heat sources
- Label the can so others know it’s an emergency candle
- Check it every few months to make sure the wicks are still in good condition
I keep two Crisco candles in my emergency kit at all times. One has never been lit. The other has been used three times during power outages. Both are ready to go when I need them.
Troubleshooting Real-World Candle Fails
Even the simplest Crisco candle can throw you a curveball. A weak flame that barely lights your room or a wick that turns black and sooty can leave you frustrated when you need light most.
Weak Flames, Sooty Wicks, And How To Fix Them
I’ve lit more than a few Crisco candles that sputtered like they were gasping for air. That weak, flickering flame is usually a sign your wick is too thin or not getting enough fuel.
If your flame is struggling, pull the wick up a bit higher—about half an inch above the Crisco surface works best. You can also try switching to a thicker wick like braided cotton or butcher’s twine. Twisted paper towel might be too loose to hold a strong flame for long.
Sooty wicks are a different problem. That black smoke means your wick is too thick or the flame is getting choked by poor airflow. Trim the burnt part of the wick down to about a quarter inch. If you’re burning your candle in a small container, move it to a spot with better ventilation.
I’ve also noticed that some cotton strings have synthetic fibers mixed in. Those burn dirty. Stick with 100% cotton when you can—it burns cleaner and lasts longer without turning your room into a smoke shack.
What To Do When Your Candle Tunnels Or Cracks
Tunneling happens when the center of your Crisco candle melts down faster than the edges. You end up with a deep hole and wasted fuel along the sides.
The fix is simple: let your candle burn long enough to melt the top layer evenly during the first burn. That usually takes about two to three hours. If tunneling already happened, you can carefully scoop out some of the hard Crisco from the edges and pack it back around the wick.
Cracks in your Crisco candle are mostly cosmetic, but they can mess with how evenly it burns. This usually happens if you’re storing your candle somewhere cold and then bringing it into a warm room too fast. Let it come to room temperature slowly before lighting it.
If the crack is deep, just smooth it out with your fingers or a spoon while the Crisco is slightly soft. It won’t hurt the burn quality—it just looks a little rough around the edges.
Burn Time, Benefits, And What Sets The Crisco Candle Apart
A Crisco candle isn’t just a candle—it’s a multi-day light source that doubles as emergency heat and costs less than your morning coffee. The burn time alone makes it worth keeping in your kit, but there’s more to this simple setup than meets the eye.
How Long Will A Crisco Candle Really Last?
Here’s where things get interesting. I tested my first emergency Crisco candle during a winter blackout, and I honestly didn’t believe the numbers I’d heard online. But after lighting it at sunset and waking up to find it still burning strong the next morning, I became a believer.
A standard one-pound tub of Crisco with a single wick can burn for 50 to 70 hours. That’s not a typo. If you use multiple wicks, you’ll get more light but shorter burn time—usually around 30 to 40 hours. Some folks have even reported 168 hours of burn time using larger containers and specific wick setups.
Compare that to store-bought emergency candles. Most max out at 8 to 10 hours, and they cost two or three times more. Your Crisco candle keeps going for days, not hours.
The actual burn time depends on your wick thickness, container size, and airflow. A thicker wick burns faster but gives more light. A thin cotton string stretches the fuel longer but produces a smaller flame.
Other Uses For Crisco Candles In A Survival Situation
You’re not just buying light when you prep a Crisco candle. You’re adding a tool that works harder than most items in your emergency stash.
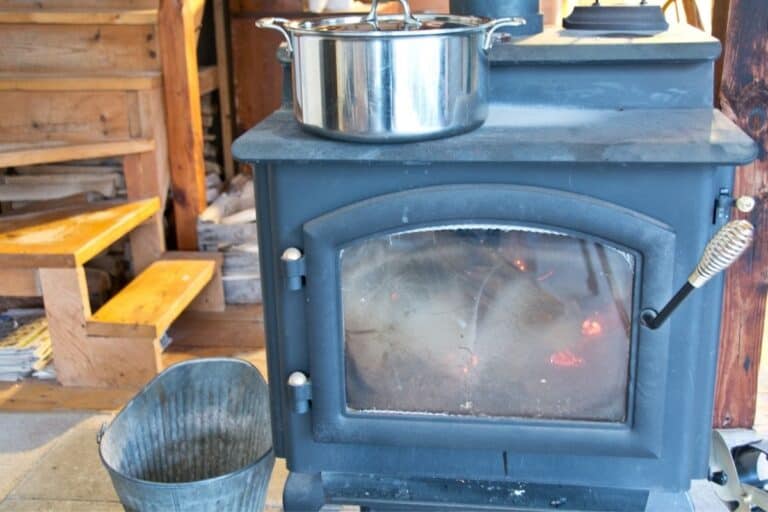
Heat source: A burning emergency candle puts off gentle warmth. It won’t heat a whole room, but if you’re stuck in a car or small space during cold weather, that flame makes a real difference. I’ve used mine to warm my hands during a power outage when the temperature dropped below freezing.
Cooking aid: In a pinch, you can actually use the melted Crisco as cooking fat. It’s still food-grade shortening, even after sitting in your kit for months. Just scoop some out before you light the wick.
Signal light: The steady flame is visible from a distance at night. If you need to mark your location or signal for help, an emergency Crisco candle works better than a flashlight that dies in a few hours.
Morale booster: This might sound soft, but trust me—when everything goes dark and quiet, having a warm light changes the whole vibe. It calms nerves and gives people something to focus on besides worry.
The Surprising Perks Of Homemade Emergency Candles
Making your own candles from Crisco gives you control that store-bought options can’t match. You choose the container size, wick type, and even how many you want to prep at once.
Cost savings: One $4 tub makes multiple candles. I’ve made six small travel-sized versions from a single container and still had leftover Crisco for cooking. You can’t beat that value.
Customization: Want a candle for your bug-out bag? Use a small tin. Need something for your garage workshop during outages? Keep the full tub. You decide what fits your setup.
Dual-purpose storage: Unlike wax candles, Crisco doesn’t just sit there waiting for disaster. You can rotate your stock by using it in the kitchen, then replacing it with fresh shortening. Your emergency gear stays current without waste.
No weird chemicals: Most cheap emergency candles smell terrible when they burn. Crisco burns clean with no strong odor or visible smoke. It’s just vegetable shortening doing what fat does best—burning slow and steady.
You also don’t need special skills or tools. If you can push a string into shortening, you can make a Crisco candle that actually works. No melting wax, no complicated molds, no mess.
Frequently Asked Questions
Making a Crisco candle raises practical questions about materials, burn time, safety, and what to do when you’re short on supplies. Here’s what you need to know based on real-world testing and common concerns.
Can you guide me through the steps of making a homemade candle with Crisco?
You’ll start by grabbing a tub of Crisco—any size works, but the standard one-pound container is easiest. Pop the lid off and take a thick piece of cotton string, butcher’s twine, or a store-bought cotton wick.
Push the wick straight down into the center of the Crisco until it hits the bottom. You want it standing upright, so lay a pencil or chopstick across the top of the tub to hold it in place.
That’s it. Light the exposed end of the wick and give it a few seconds to catch. The flame will be steady and calm, and you’ll have light for hours without much fuss.
If you want to get fancy, you can scoop some Crisco into a smaller tin can or metal container and add a shorter wick. This makes portable emergency candles you can toss in a bug-out bag or car kit.
What materials do I need to craft a functional Crisco candle for an emergency?
You only need two things: Crisco and something that’ll burn as a wick. For the wick, cotton string works great. So does twisted paper towel, toilet paper, or strips of cotton fabric braided together.
If you want more control over the burn, grab a bag of pre-waxed candle wicks from a craft store. They’re cheap and make the whole process even easier.
For the container, the original Crisco tub is perfect. But if you’re making smaller versions, use tin cans, mason jars, or metal mint tins. Just avoid plastic—it’ll melt and make a mess you don’t want to deal with.
A lighter or matches round out your setup. That’s all you need to create a long-burning candle that actually works when the power goes out.
How long can a candle made from Crisco burn, and how does it compare to regular candles?
A full one-pound tub of Crisco with a single wick burns for 50 to 70 hours. I’ve tested this myself, and it’ll outlast most store-bought emergency candles by a mile.
Smaller setups burn less, obviously. A four-ounce tin will give you around 12 to 20 hours depending on your wick size.
Compare that to regular emergency candles that max out at 8 to 10 hours, and you’re getting way more bang for your buck. Plus, Crisco burns cleaner and doesn’t fill your space with that weird paraffin smell some cheap candles put off.
If you use two wicks, you’ll get more light but shorter burn time. It’s a trade-off, so think about what matters more—brightness or longevity.
In creating a DIY Crisco candle, what are the safest practices to prevent toxic fumes?
Crisco burns clean, so you don’t have to worry about toxic fumes like you might with some other DIY candle projects. It’s just vegetable shortening—no chemicals, no weird additives.
That said, always use it in a stable, heat-safe container. Metal or glass works best. Keep it on a ceramic plate or metal tray, away from anything flammable.
Never leave it unattended. Treat it like any open flame—you wouldn’t walk away from a regular candle, so don’t do it with this one either.
Make sure your space has some airflow. You’re not going to choke on smoke, but fresh air never hurts when you’re burning anything indoors. Following these safe indoor burning practices keeps things simple and worry-free.
What’s the best way to configure a wick for a Crisco candle?
Your wick needs to be thick enough to hold a steady flame but not so thick it burns too fast. Cotton string or butcher’s twine hits that sweet spot every time.
If you’re using twisted paper towel or toilet paper, make sure you twist it tight. A loose wick won’t draw the melted Crisco up properly, and your flame will sputter out.
Push the wick all the way to the bottom of your container so it soaks up the shortening as it melts. Leave about an inch sticking out above the surface—that’s what you’ll light.
Use something across the top to keep the wick centered while you’re setting everything up. A pencil, chopstick, or skewer works perfectly. Once the candle starts burning and the Crisco softens, you can adjust the wick if needed.
Could you show me a workaround for when I’m out of traditional candle-making supplies but still want to create a Crisco candle?
If you don’t have a store-bought wick, look around your house. Cotton string from the junk drawer works fine. So does twine you’d use for cooking or tying up packages.
No string at all? Twist up a strip of paper towel or toilet paper into a tight rope. It won’t last quite as long as cotton, but it’ll get the job done in a pinch.
For the container, raid your recycling bin. Tuna cans, soup cans, or even a cleaned-out jar will hold Crisco just fine. Just make sure it’s metal or glass—nothing that’ll melt.
You don’t need fancy craft store supplies to make emergency candles that work. The whole point is using what you already have when you need light and don’t have better options.