Five Reasons Caravan Floors Go Spongy and What to Do
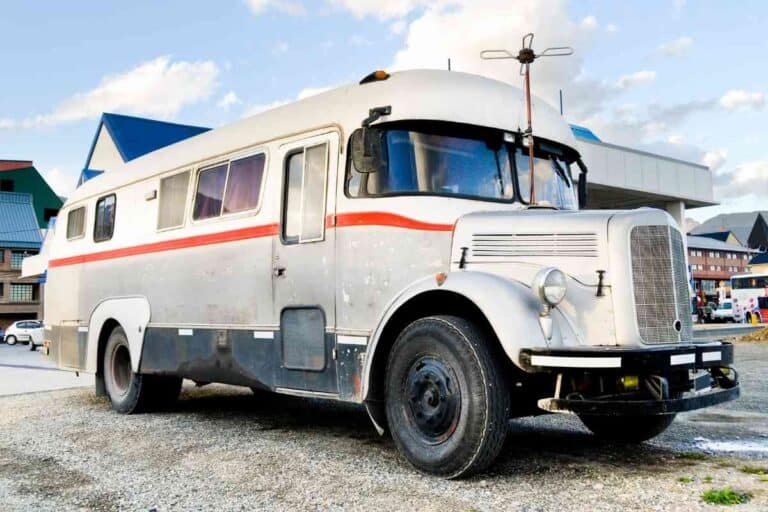
You’re getting your caravan ready for your next road trip when you notice a section of floor that feels spongy and unstable, leaving you wondering whether or not it’s safe to embark on your journey.
Unfortunately, spongy flooring is a common issue in caravans and campers, and it can be tough to identify exactly what is causing the structural deficiency in your flooring.
Caravan floors go spongy due to water damage. Flooring can be damaged in the following ways:
- Water Damage from a Plumbing Leak
- Moisture is Entering the Caravan from Outside
- Faulty Sealant on Windows and Doors is Letting Water in
- Poor Insulation is Producing Interior Humidity
- Poor Construction in Older Campers that Leads to Leaks
The following guide will help you identify the five major reasons that caravan floors go spongy and what steps you should take to replace spongy flooring and prevent further damage down the road.
Where is the Water That’s Damaging my Floor Coming From?
Identifying that moisture is the culprit of your spongy floor is the easy part – the real work comes with identifying exactly where the water damage is coming from.
Although caravans are designed to withstand the elements, there are still plenty of ways that water can get into your caravan and start doing its dirty work. Below are the most common ways that water can get into your camper and how to identify them.
Water Damage from A Plumbing Leak
Caravans are no different than regular houses in that they are still subject to all manner of plumbing issues, from running toilets to leaky sink faucets.
However, identifying and dealing with a plumbing issue in a mobile home is vastly different than a traditional house, because caravans have self-contained water storage and waste systems. Plumbing leaks can be caused by a variety of different issues, including:
- Burst Water Line
- Leaky Valves
- Blockages in Plumbing
Burst Water Line
The plumbing in caravans generally runs through water lines made of PVC piping and into large tanks located underneath the caravan. If these water lines leak or burst, they can send water into your RV through the walls and ultimately down to the floor. The most common type of water line damage is a burst pipe as a result of freezing.
If you suspect that a burst pipe is causing water damage to your floor, the first step is to identify the offending pipe. This may mean removing wall paneling or even appliances to find the culprit. Although there are plenty of DIY methods for repairing a burst pipe, the most efficient repair method is to call a professional plumber who can replace or re-seal the pipe.
You need to be particularly careful with burst pipes if you plan to store your camper for the winter. The easiest way to avoid this problem is to drain all of the water out of your pipes before the weather dips below freezing. You can easily do this on your own with an air compressor or an external hand pump.
Leaky Valves
If the pipes themselves aren’t the issue, it may be one of the valves that connect one pipe to the next. These valves are generally made of copper or another metal and can be subject to corrosion over time. Additionally, the rubber seal that connects the valves and pipes may be leaky or damaged, especially on an older camper or RV.
Fortunately, repairing or replacing a leaky valve is relatively cost-effective. However, it’s important to make sure you know exactly what type of valve your plumbing system needs, as they vary depending on the brand of the camper. While the act of putting the replacement valve on isn’t difficult in itself, you may need to remove wall paneling or complete appliances to access the valve that needs to be replaced.
Blockages in Plumbing
While you may be able to escape the real world out on the open road, you still can’t escape clogged sinks and toilets. RV plumbing systems are small and delicate, and it doesn’t take much to clog a sink drain or overflow a toilet.
Multiple clogs or overflows can lead to water seeping into the floor and causing long-term damage. Regularly using a drain cleaner can help reduce the buildup of debris in the plumbing. However, if you’ve experienced a large clog or backup, you may need to manually remove it or call a plumber for professional assistance.
Moisture is Entering from the Outside
Just like traditional homes, mobile homes are subject to damage from natural elements. Water from outside that has found its way into a caravan can result in water damage from floor to ceiling. Water from outside can enter a caravan in the form of:
- Rain/Snow/Ice
- Moisture from Humidity
- Damage from Roadside Debris Letting Moisture in
- Appliance Issues
Rain/Snow/Ice
The most common way for moisture to seep into a caravan is through rain, snow, or hail. Excessive rain or snowfall can find its way through cracks in windows and roofing or open windows. Ice can also build up on roof and window fixtures during colder months. Once it begins to thaw, it can cause just as much damage as heavy rain or a snowstorm.
If you’re expecting wet weather, make sure to inspect your roof and windows for small cracks or openings that you may have forgotten about before hitting the road. You may also find that it’s worth investing in rubber roof coating. This will help protect your camper by:
- Preventing Damage from UV Rays
- Protecting Roof from Damage from Expansion and Contraction
- Preventing Damage from Rain or Snowfall
- Closing Minor Cracks in Sealant
If you are planning to store your camper or camp in one place for an extended period, you’ll likely find it worth the investment to purchase an RV roof cover. Although they’re not cheap, they will be less of a strain on the wallet than repairing a water damaged floor. This is a particularly good investment for older campers that may have structural deficiencies in roofing or window materials.
Moisture from Humidity
It may not be visible like rain or snow, but moisture from humid air can still collect inside a camper and cause water damage.
If you’re driving through or staying in a humid area, consider investing in a small dehumidifier and try to keep doors and windows open to allow air to circulate through the camper whenever possible.
Damage Roadside Debris Letting Moisture In
While this may not be the first cause of moisture damage to enter your mind, it’s an extremely important one. Though you may not realize it, the impact from roadside debris can crack and damage areas of your camper and allow moisture to seep in.
While you’re on the road, make sure you have plenty of clearance under highway signs, and be sure to inspect the sides of your vehicle after long stretches on the highway.
Damage from debris can be just as harmful to a stationary camper as it can be to a moving one. Fallen tree branches can cause significant cracks in an RV roof that will offer a direct path for moisture to enter the vehicle.
When you’re parking your caravan, always make sure that you’re in an open-air area away from large tree branches or other structures that could potentially fall and cause damage to your roof.
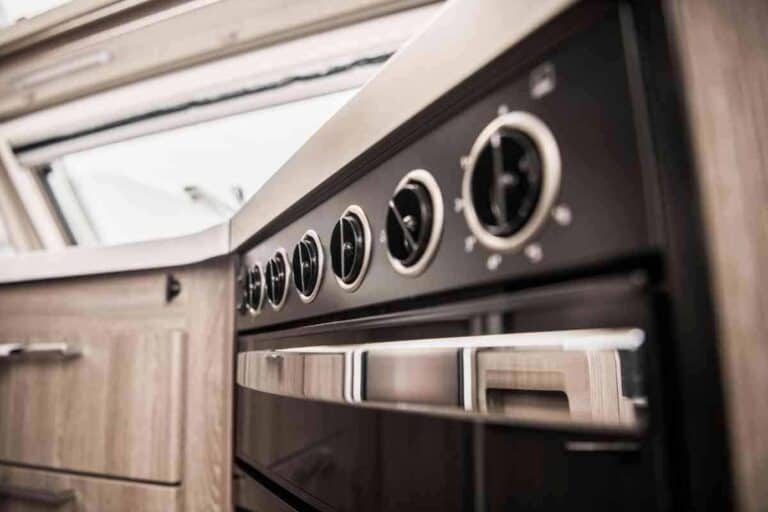
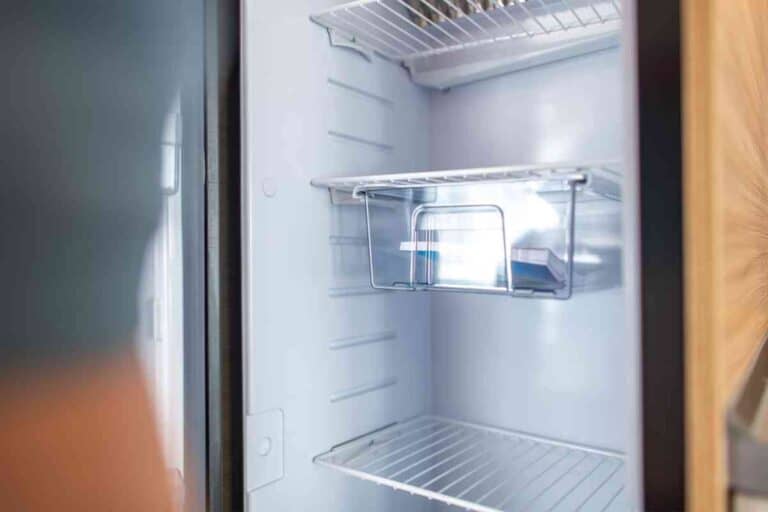
Appliance Issues
It may seem like a no-brainer, but it’s necessary to routinely check appliances for issues. You can invest substantial time and money in protecting the exterior of your caravan, but at the end of the day, it may be a leaky fridge or overflowing drain that ultimately causes water damage to your floor.
Before you head out on your next adventure, make sure that your appliances are up-to-date and in good working order.
Faulty Sealant on Windows and Doors is Letting Water In
One of the fastest ways that water from outside can find its way into a camper is through leaks or cracks in the sealant that’s placed around windows, doors, and sidewalls. Especially in older RVs, this sealant can wear and crack over time, leaving an entryway for water that’s unnoticeable to the naked eye.
If you’ve discovered floor damaged that’s near a wall or coming from a wall, a leaky window or sidewall seal may be to blame. Do a methodical check of all sealant until you’ve found crack or damage. Once you’ve identified the area, you can either replace the seal or patch it depending on the extent of the damage.
Poor Insulation is Producing Interior Humidity
Moisture from humidity doesn’t enter an RV from the outside – it can also accumulate from inside the vehicle and cause significant floor damage.
Excess humidity generally develops inside a camper in colder weather when warm interior air makes contact with un-insulated walls and windows.
Many older campers were built with poorly insulated walls and single-pane windows that don’t effectively trap moisture. Instead, interior heat and the resulting condensation seeps into the structural walls and floor, causing mold and dry rot.
If you’re experiencing water damage from excessive interior humidity, you will likely need to beef up insulation in walls and windows. Additionally, make sure to avoid taking hot showers, cooking, or drying damp clothing inside the RV without allowing external airflow.
Poor Construction in Older Campers Leads to Leaks
While any camper or caravan can have water damage, there are certain components found on older campers that can be subject to leaks or water intake. If you’re purchasing an old or used caravan, make sure you take a careful look at the areas listed below to assess if they might be a source of current or future water damage.
- Slide Rooms
- Old Flooring
- Canvas Material
Slideout Rooms
Most motor homes build in the late 1990s through the mid-2000s came with a Slide Room, which was an add-on that extended a camper’s walls outward to create additional living space inside.
However, the slideout needs enough space to detach from the wall of the camper, which leaves room for all manner of moisture to seep through to the interior. Additionally, the gaskets and seals that allow the slideout to move in and out are exposed to significant wear and tear, so water has more opportunity to move in through holes and cracks.
Read also: Can You Drive an RV with the Slide Out?
Old Flooring
In many older RV’s, the floors were simply built with unprotected sheets of plywood. Any water that got into the floor would have nowhere to escape, causing substantial damage and rot.
Because of this suboptimal floor building technique, many old or used campers and RV’s have spongy spots on floors that need to be replaced or removed.
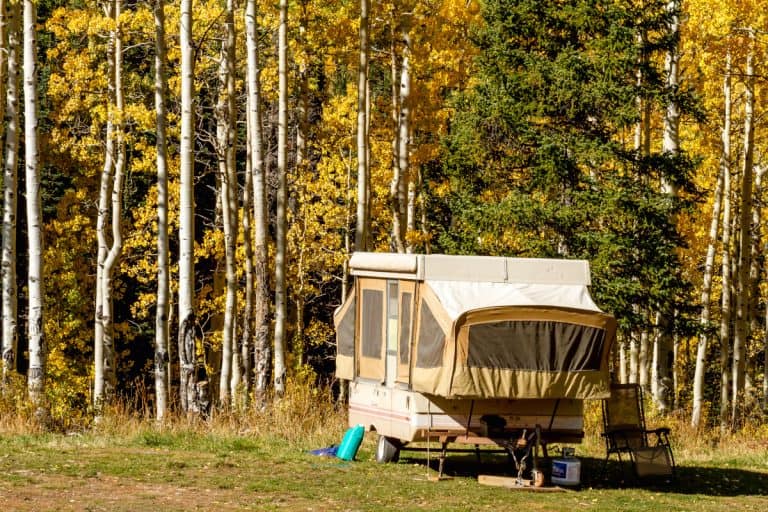
Canvas Material
If an older camper has floor damage, it may be what was above it that’s ultimately to blame. Some older RV’s were built with roofing and siding made out of canvas material, which was not nearly as waterproof as the roofing components we see in more modern caravans.
If your camper still has canvas material, it may be time to look into replacing those areas with something more waterproof.
Water damage in the flooring is one of the most common issues found in older campers. If you’re committed to purchasing an older caravan, be prepared to have some potentially major flooring repairs in your future.
As long as you’re ready and willing to repair a spongy floor area, you can begin gathering the materials you’ll need for your renovation.
How do I Fix a Spongy Caravan Floor?
Once you’ve discovered the exact location of your spongy floor and dealt with the underlying issue behind the moisture retention, you’ll need to decide on the best method to repair the area of flooring.
Follow the steps listed below to determine the best method for fixing your spongy floor.
- Decide Whether You Need to do a Repair or a Replacement
- Assess What Materials Your Subfloor is Made Of
- Prevent Future Water Damage to Your New Floor
Decide Whether You Need to do a Repair or a Replacement
Before you begin the dirty work, you need to decide whether the spongy floor area is small enough to repair, or if there’s enough damage that you need to fully replace the flooring.
If the area is small enough to repair, you may be able to complete the job yourself. Follow these basic steps to successfully repair damaged flooring.
- Mark off a square area just outside of the spongy area of the subfloor
- Carefully measure the depth of your subfloor
- Use a circular saw to cut
- Pull up the cut flooring
- Check the insulation under the subfloor for damage and remove it
- Replace any damaged insulation
- Repair or reinforce damaged floor joists
- Cut a new piece of subfloor in the same dimensions as your old floor
- Install and fasten the new subfloor using a drill and flooring screws
- Seal the seam between the old subfloor and the new subfloor
- Cover the subfloor with your top layer of flooring
While repairing a sub-floor is no easy job, it can be done with patience and meticulousness.
However, if you don’t have much experience with carpentry, you may find it easiest to call a professional. If you’re in the market for a full floor replacement, you’ll most likely need to call in professional help to get the job done quickly and efficiently.
Assess What Materials Your Floor is Made Of
If you opt to repair your damaged flooring, you need to make sure that you’re using the same material that was originally there.
Some types of subfloor are much easier to work with than others, and certain types of subfloor may require additional installation steps and reinforcement.
Before you start your repairs, make sure you’ve identified the materials in every layer of flooring, including joists and insulation.
Prevent Future Water Damage to Your New Floor
Once you’ve installed your new floor, you need to ensure that it will stay free of water damage in the future. Once your floor is installed, use an End Grain Sealer on your entire floor.
Re-sealing your subfloor and all floor seams will ensure that no water will be able to penetrate the subfloor in the future.
How Can I be Sure That my Caravan Floor Will Stay Moisture-Free?
Unfortunately, there’s no surefire way to indefinitely prevent water damage from occurring in your camper. Just like in a traditional home, water issues are inevitable and will pop up regardless of how diligent you are about prevention.
Because water can enter your camper from so many different places, it can be difficult to constantly stay up-to-date on the maintenance of all the places that can potentially cause leaks or flooding.
Be Prepared Before You Start Your Road Trip
Whether you’re buying a caravan for the first time or you’re a seasoned RV owner, water damage will be a constant issue that you’ll have to deal with on the road.
However, if you know where to keep an eye out for potential water damage entering your floor and are prepared with the appropriate tools to prevent leaks and floods, then you will be well on your way to enjoying a sponge-free floor for many road trips to come.