How Much Is Skoolie Insurance? Explained!
If you have just completed a skoolie renovation or are planning to live in a skoolie then you need to know how much your insurance will cost. Living in a skoolie can be a fun experience, but you must have insurance to protect your personal possessions and be aware of how much you will be spending.

How Much Is Skoolie Insurance?
Skoolie insurance will typically cost $250-$500 per year. This is dependent upon your age, your driving record, and the type of insurance you are wanting to get for your skoolie. Your insurance type will change once your skoolie is completed and you are ready to either camp or live in it.
Getting your skoolie properly insured is going to be one of the most important parts of your renovation process. If you do not get the proper insurance, it can create many problems down the road.
Renovating a skoolie is a fun experience and allows you to enjoy camping and traveling in a unique way. The information provided in this guide has been provided by people who have been renovating and insuring skoolies for many years to ensure you have accurate and up to date information.
Skoolie Overview
What Is A Skoolie?
A skoolie is a renovated school bus that is turned into a home on wheels. They are very similar to an RV, but many people compare them to a tiny house on wheels.
The process of renovating a school bus does require a lot of time and effort, but can be worthwhile in the long run to create an upcycled home if you are wanting to be more environmentally conscious.
Renovation Process
There is not an exact renovation process that you have to follow when renovating a school bus, but there are certain steps that most people will follow and then customize the bus to your style and needs.
1. Find A Used Bus
Before purchasing a school bus for renovations, it is a good idea to know about the different types of school buses and sizes. Take the time to do your research and find a bus that will suit your needs.
If you are planning to just move around yourself or with one other person, you may not need something large, but if you plan to live in the bus with a family then you might be looking for a larger bus.
There are quite a few websites that sell school buses so you can compare prices and find the perfect bus for you.
2. Remove The Seats
One of the first steps of renovating it is going to be to remove all of the seats. Regardless of your exact plans with the bus, you will always need to remove the rows of seats in order to have a clean slate to work with.
3. Remove Floors, Ceilings, and Walls
This step is optional, but for many people they end up removing the existing floors on the interior, ceilings, and walls. Not only does this allow you to make the space inside the bus bigger without adjusting the exterior, but then you can ensure that there is no mold growth anywhere.
Typically converted school buses will have 6 foot tall ceilings so by removing the floors and ceilings, you can now adjust and give yourself a little bit of added height to the space.
4. Insulate
It is not a requirement to insulate your skoolie, but if you are unsure of the weather you may be camping or living in then insulation is a good idea.
This will allow you to live comfortably in your skoolie regardless if the weather is extremely cold or warm in the different seasons.
5. Plan Floor Plan
At this point in your renovation process you will want to plan your floor plan. Take the time to decide where you want each piece of furniture, wall, appliance, and fixture.
Once you have an idea of what you want, it is beneficial to mark out where these items will go and take a few days to ensure that this layout is going to work for you. If you find after a few days that you are unsure about something then you can edit the plan.
6. Install Plumbing and Electric
Your plumbing and electricity is one of the key components of your renovation. At this point, you will want to run all wires and connect them to their source.
This is important to do prior to putting your finished ceilings and walls in so you know exactly where your plumbing and electric wires run in the event that you need to access them down the road.
7. Cabinets and Built-In Furniture
Once you have your writing in place, then you can begin the process of installing your cabinetry and any custom built-in furniture.
This will always need to be completed after the wiring for the plumbing and electrical, but you also want this done before the finished walls and ceilings.
8. Finished Ceilings and Walls
Now you can complete the walls and ceilings. Some people will do removable panels for the finished walls and ceilings in areas where you may want to access plumbing or electrical in the future, but this is personal preference.
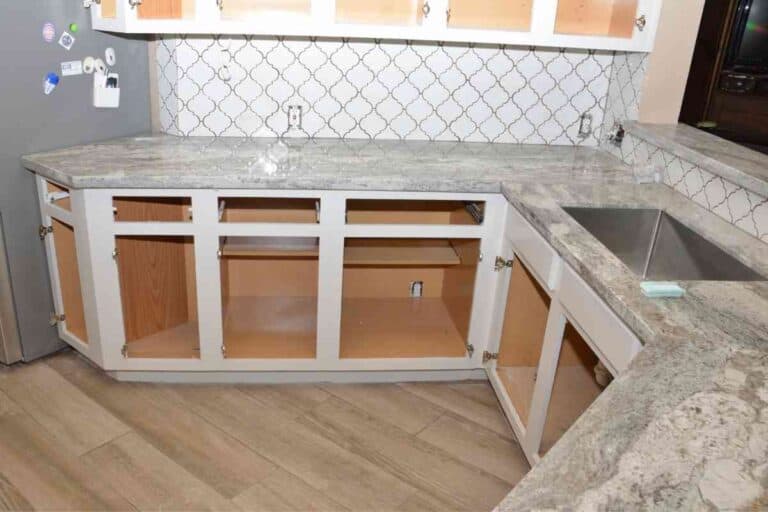
9. Counters and Surfaces
At this point in the renovation process, you will be ready to install countertops, cabinet doors, drawers, and complete any painting.
This is when the process becomes more fun and you can start adding your own personal touches to the skoolie.
10. Finishing Touches
The last step of completing your skoolie is to add your furniture, appliances, and trim. At this point, it is just about making the skoolie your own and decorating it to match your style and your needs.
These will be the finishing touches to get your skoolie completed and ready to hit the road.
How Much Is Skoolie Insurance?
Typically for most people insuring their skoolie, an insurance policy will cost somewhere around $250-$500 for the year. Some insurance companies will insure it along the same lines as an RV or motorhome since it has been renovated and can now be lived in.
The insurance cost can vary depending upon where you live, your age, your driving record, and the type of insurance you are wanting to get for your skoolie.
Types of Skoolie Insurance
There are typically two types of insurance you will be looking into with your skoolie. It is important to do your own research on costs and what is included in each type of insurance so you can ensure that you get the proper type of insurance for your situation.
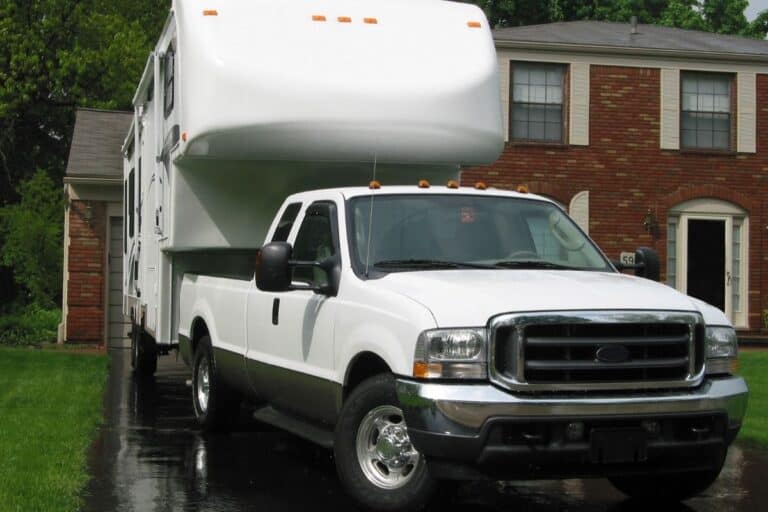
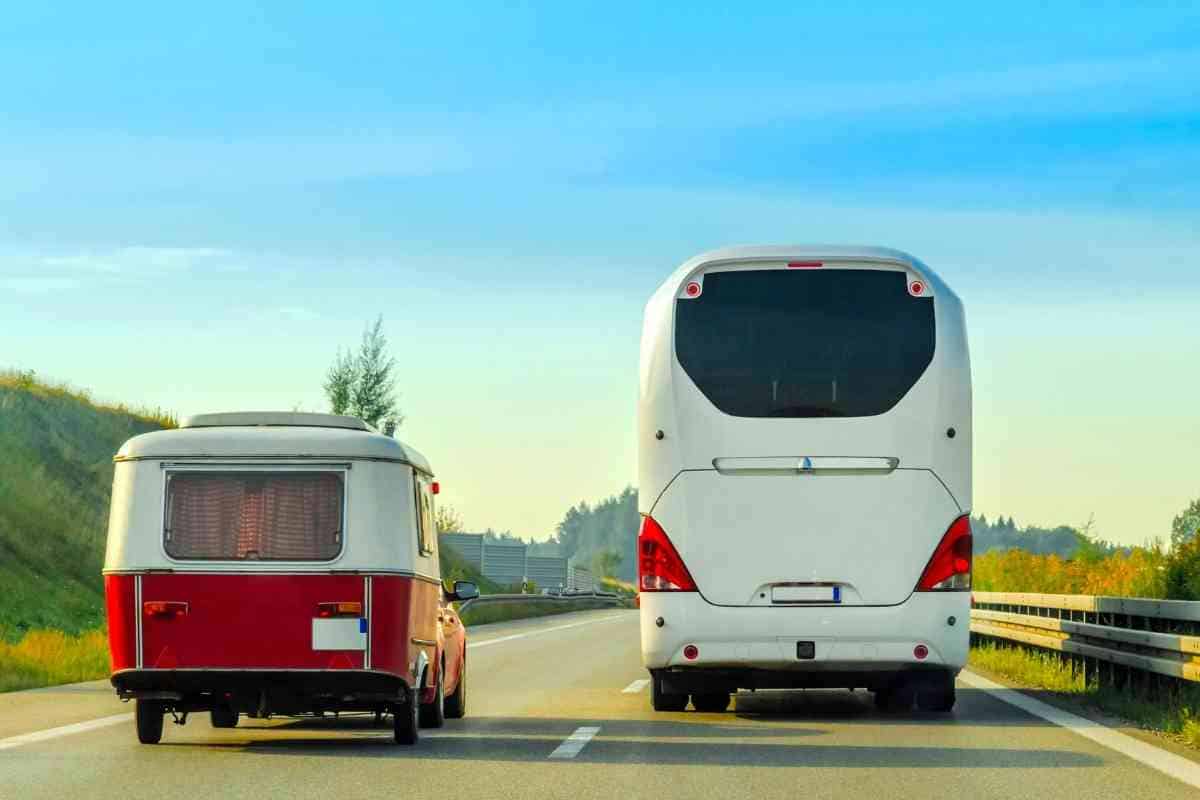
1. Commercial Vehicle for Personal Use
This is the type of insurance that you will need when you first purchase your skoolie. The commercial vehicle for personal use insurance will help cover you when you drive your school bus home and during your build.
There will most likely be several options when it comes to this insurance and how much you want covered during your build so that is going to personal preference on what is best for you. However, you will absolutely need insurance in order to drive your bus home much like you need insurance before you can drive a new care home from the dealership.
2. Full Coverage Insurance
Once you have completed the build of your skoolie, you will most likely want full coverage insurance. This is going to give you liability insurance as well as comprehensive and collision insurance. In some cases you can also get your personal items covered within this policy.
This is going to be a process that will need to be done once the skoolie is fully completed. You will need to explain the situation to your insurance agent and they may request pictures of the fully completed skoolie in order to show it to the insurance underwriter.
Some insurance underwriters are not familiar with skoolies, so be prepared to show additional information and provide them with as many details as needed.
Prepare yourself for this process by knowing the model of your bus, how old it is, and having your title and registration information squared away.