How to Build Your Tiny House: A Step-by-Step Guide
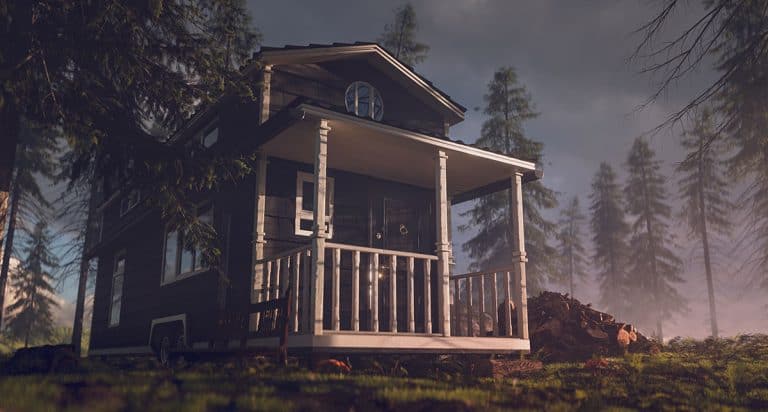
One offshoot of the increasingly popular minimalist movement is the tiny house; an ultra-small living space that packs a surprising number of features into very little square footage.
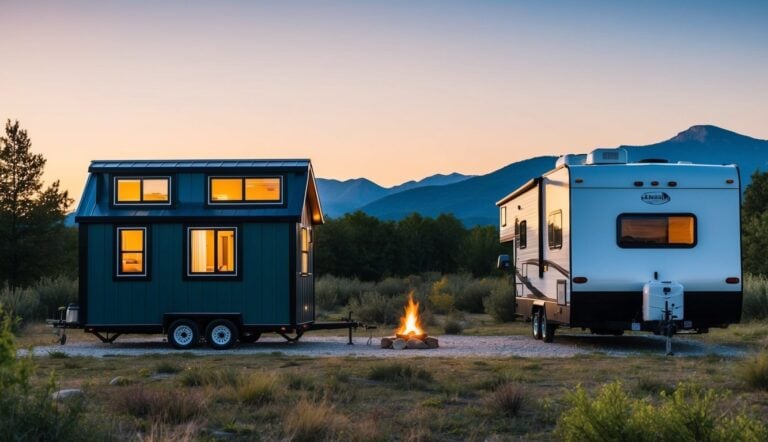
Most tiny houses are between 100 and 400 ft2, with many that are towable coming in at under 150 ft2. Another appeal of these houses is how (relatively) easy they are to build.
Tiny houses are relatively simple to build, but there are still quite a few steps involved. This guide will cover the following:
- Planning and permitting
- Purchasing materials
- Construction
Interest in tiny houses has exploded over the past decade or so; it seems like every channel on TV has a hit show about them. There’s something fascinating about packing a ton of great features into a tiny house that could theoretically move with the same flexibility as an RV or trailer.
Keep reading to find out what exactly is involved in building your own tiny house.
How to Build Your Tiny House
If you end up building your own tiny house vs. buying one, you’ll save a significant amount of money. This should come as no surprise, as usually, a large portion of costs include the cost of labor. This is one of the large appeals for tiny house living, as well as having a mobile home, lower cost of living, and a minimalist lifestyle.
Building a tiny house largely involves the same steps as building a regular size house, except everything is smaller. This means it can be done relatively quickly, especially if it’s smaller. Of course, if you do it all yourself, you’re going to need to learn something about plumbing, electricity, HVAC, gas line running, and carpentry.
These steps are what we’ll be discussing in greater detail throughout the rest of this article.
- Planning and permitting: determining your needs and desires, picking out the location for your tiny house, draw plans, get advice, get applicable permits
- Purchase materials: this includes the trailer, construction materials, appliances, bath and kitchen fixtures, windows, and the tools for the job
- Construction: plan your build, foundation, frame, roofing, exterior, door and window install, plumbing, electrical, gas, HVAC, install fixtures and appliances, flooring, and trim work
This was just a very general overview of the steps involved. We’ll go into much greater detail throughout the rest of the article.
There are plenty of guides, ideas, and inspiration on the internet for you to reference as well, but hopefully this guide gives you an idea of what you’ll have to do to make your tiny house dream a reality.
Planning Your Tiny House
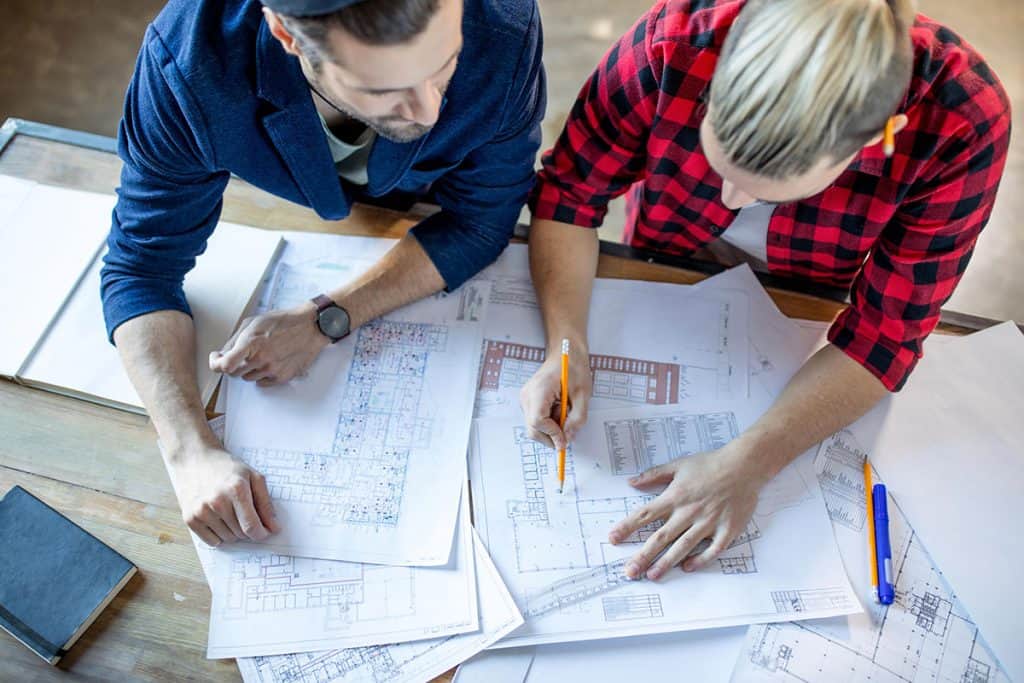
Before you start buying materials, you’ll want to come up with a good plan for your tiny house.
First off, you need to determine exactly what you want and what you’re willing to live with. You’ll have to make sacrifices somewhere, so it’s important to figure out where you’re willing to make those sacrifices.
Plans
The internet abounds with free or paid plans for a tiny house. Unless you want to fully customize it, you’ll likely find a pre-made plan that exactly fits your needs.
A pre-made plan is great because it often has specific materials listings, even going into as much detail as telling you what size boards you need to cut. It takes away guessing because you know it’ll work.
I recommend checking out these amazing plans.
Finding the Right Land for a Tiny House
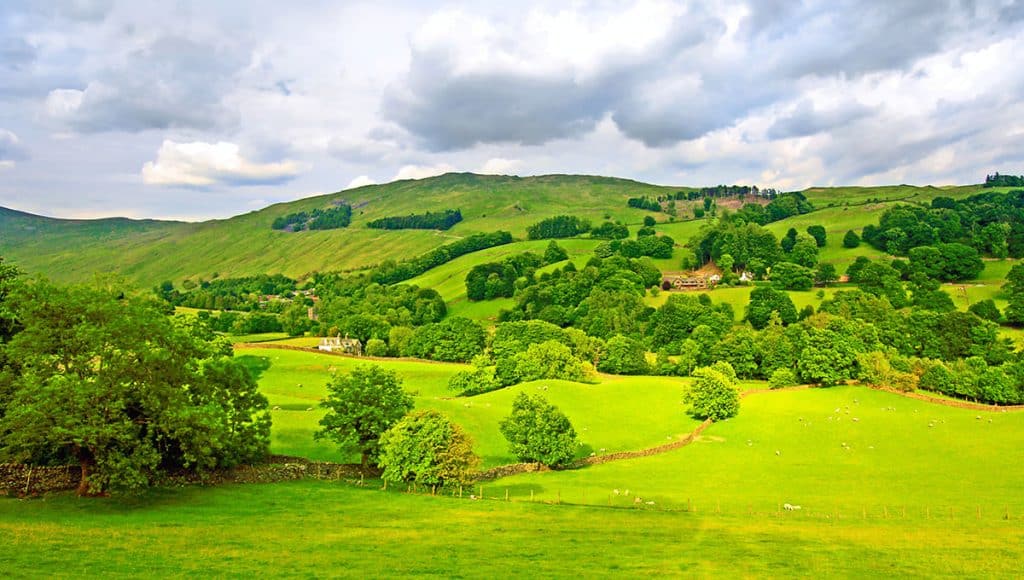
Your tiny house needs to go somewhere, so you’ll need a plot of land for it.
Choosing land is largely a matter of personal preferences (and budget), but some things are important to at least consider. Your plot usually can’t be too small, because presumably, you’ll want a place to park vehicles, a way to get onto and off of your property, and a place to put a storage trailer if you’re using one.
Apart from that, you’ll have to determine what else you’re planning on having in your tiny house and on your land.
Are you using solar panels for electricity? Make sure you have a spot on your land where you’ll get maximum sunlight throughout the day.
Do you plan on gardening? You’ll need some space for that as well.
And what about your water and sewage?
Here’s a summarized list of the considerations you’ll want to make for the land your tiny house will be on.
- Parking/storage
- Solar panel location
- Entry and egress routes
- Gardening
- Grey water storage/disposal
- Water storage
- Outdoor seating
- Electric/water/gas lines (if using local utilities)
- Permits, zoning laws
Budget

Another significant thing you’ll need to think about in your planning phase is your intended budget. Again, this is largely up to you, but consider that whatever you estimate in terms of materials will probably be exceeded.
In order to help with this, be sure to add 10% to your budget at least for unforeseen expenses. The last thing you want is to get halfway through building your tiny house and running out of funds.
Tiny houses can vastly range in price, but for an average, trailer mounted DIY tiny house of about 150 sq. feet, you should expect somewhere around $10,000 to $30,000, depending on what you want to install.
Some of the highest costs will be the trailer itself, interior fixtures, appliances, insulation, and the windows. Some of the lowest costs will probably be paint, some of your bathroom fixtures, drywall, and flooring.
Applicable Laws

The last thing you need is for some government bureaucrat to come and condemn your tiny house once it’s done, so you’ll want to get a really good understanding of the applicable laws before you start building.
We could easily write an entire article talking about tiny house related laws throughout the U.S., but one pitfall that a lot of would-be builders run into is the minimum inhabitable space for a structure to be considered a home.
Another thing to think about is zoning laws; you can’t just park your tiny house anywhere. It has to be in accordance with city zoning guidelines.
Be sure you understand your local zoning laws and building codes. Some states are a lot less restrictive than others.
Ready to Get Started?
The final step in your planning and preparation phase is to do some research and practice some of your construction skills. If you’ve never done plumbing, construction, carpentry, HVAC, or electrical before, you’ll find that there is a learning curve.
Some things you do early on in the construction can save you boatloads of time later on as well, so you don’t want to go into this project completely without any knowledge of how these things basically work.
For instance, before you finish putting up the rough openings for your doors and windows, you’ll want to make sure the appliances you choose will fit through them.
Purchasing and Gathering Materials
Now that you’ve successfully planned out your tiny house and the land it’ll be sitting on, it’s time to start actually collecting the materials to build it with.
If you’re going with a trailer-mounted tiny house, you’ll need to find a heavy-duty trailer that’s can holding anywhere from 5,000-8,000 pounds. If you’re building on the ground, you’ll need to build a foundation.
You’ll also need lumber for the floor, walls, and ceiling, windows and doors, insulation, paint, siding; you get the idea. More detail on each of these categories is listed below.
Tools
If you don’t already have a good collection of power tools and hand tools, you’ll need to build them into your budget. Of course, if you can borrow some tools, that will save you some money, but if not, you’ll have to buy them or rent them.
Here is a list of essential tools that you’ll need to build your tiny house.
Tools you think you’ll use again in the future might be worth buying; specialty tools you only foresee using for a day or so might be better to rent.
Make sure you get good quality tools that will last. While a Black & Decker drill is great for small tasks, a higher-end drill (with large batteries) is essential for heavy use. Not only are professional power tools less like to break down, they will also get the job done a lot efficiently.
Cost of a Tiny House
In terms of cost, material prices can vary greatly depending on the area of the country you’re in. Here’s a good guide for estimating the costs of your tiny house and the materials you’ll need. This guide is summarized in the table below:
| Item | Cost Range |
| Trailer | $3,500-$5,500 |
| Windows | $500-$6,000 |
| Roofing | $500-$2,000 |
| Insulation | $500-$3,000 |
| Siding | $1,000-$2,500 |
| Lumber | $1,000-$5,000 |
| Interior finishings | $500-$4,000 |
| Electrical | $750-$3,000 |
| Shower | $400-$1,000 |
| Water Heater | $500-$1,000 |
| HVAC | $500-$1,500 |
| Toilet | $20-$800 |
| Fixtures | $1,000-$5,000 |
| Appliances | $400-$4,000 |
| Interior Wall | $500-$1,000 |
| Flooring | $300-$1,500 |
| Fasteners/Adhesives | $1,500 |
| Paint | $50-$200 |
As you can see, there’s a pretty wide range of prices to building your own house. Most of this variation comes from how premium of materials you decide to purchase.
Keep in mind that when you’re buying in bulk you sometimes can get a discount from hardware stores, so buy all your items at once if possible.
On the other hand, you don’t necessarily need all materials on hand when you start construction, unless you’re planning on getting it done in a very short amount of time. Many people like to order their materials in waves so they arrive right when they’re needed. Just remember to consider the potential savings of ordering in bulk.
As mentioned, you’ll need a solid plan and well-thought out timelines to be able to order , but the benefit is that you won’t have to come up with long-term storage solutions for a bunch of supplies. You’ll use them soon after you get them.
Trading and Bartering
People who build tiny houses can be part of a close-knit community even if they’re many miles apart, and they offer tips to anyone embarking on the journey of building their own tiny house.
One good tip for saving some money on materials is to try and barter for materials, or buy them second-hand on social media marketplaces or trading sites.
Alright, you have all your materials on hand or on order. The next (and final) thing to do is build your house! You’ve come a long way but there’s still a lot of work to do. Keep reading to see all the steps involved in construction.
Constructing the Tiny House
Once you’ve gathered your supplies, it’s time to get started! Here’s a brief overview of the steps involved in construction:
- Trailer/foundation prep
- Floor installation
- Framing
- Doors, Windows, Siding, and Roofing
- Plumbing
- Electric
- HVAC
- Insulation
- Appliances
- Flooring
- Fixtures and Finishing Work
Safety
Before we dig any deeper into these steps, an important note on safety. Although it it’s a tiny construction, its still dangerous if done carelessly or improperly.
Follow these construction safety tips at all times to make sure there aren’t any injuries while you’re building your tiny house.
- Care for your tools; a broken or rusty tool is more dangerous
- Keep your workspace clean and ventilated
- Wear the proper protective gear (eye protection, hearing protection, gloves) at all times
- Be extra careful when installing roofing
- Keep a good first-aid kit on site
Trailer Preparation
If you’re building on a trailer, you can easily see how it’s possibly the most important part of your tiny house to get right. It’s essentially the foundation, and a bad foundation will lead any house to real trouble. A tiny house is no different.
One of the most important parts of this process is anchoring the house to the trailer. Otherwise, you run the risk of it blowing off the in a storm or falling off while driving it down the highway.
Here’s a good video on how to anchor your tiny house to a trailer:
Trailers usually come with a floor decking, which could be removed if you’re trying to make your whole set up lighter. However, they can add stability to the structure so you may want to leave them on instead.
You also need to determine how to level your trailer; you can do it with jack stands or with cinder blocks, but make sure the ground underneath them is solid too.
Anchoring is just as important if you are not using a trailer. Here is a great video on how to anchor down a tiny house.
Floor Joists
Once your trailer is set, you’ll start installing the floor.
First, you’ll install a vapor barrier to prevent moisture from getting in through the floor. Then, you can frame out your floor.
Some people find it necessary to add in a layer of metal flashing to help keep moisture away as well. You can’t be too careful because of how moisture can lead to mold.
At the very least, you want to use pressure-treated lumber to build your flooring and on the deck of your trailer, if you decide to leave it on. Treated lumber stands up better to the elements and will last a lot longer without decaying. If moisture gets in to untreated lumber, the results can be bad.
Once your floor is framed, you can move on to insulating the floor to help regulate the tiny house’s temperature. A well-insulated floor is very effective in keeping your tiny house warm during the winter.
Then add you pressure treated OSB or plywood sheets on top of the insulation. With that step, your floor is done.
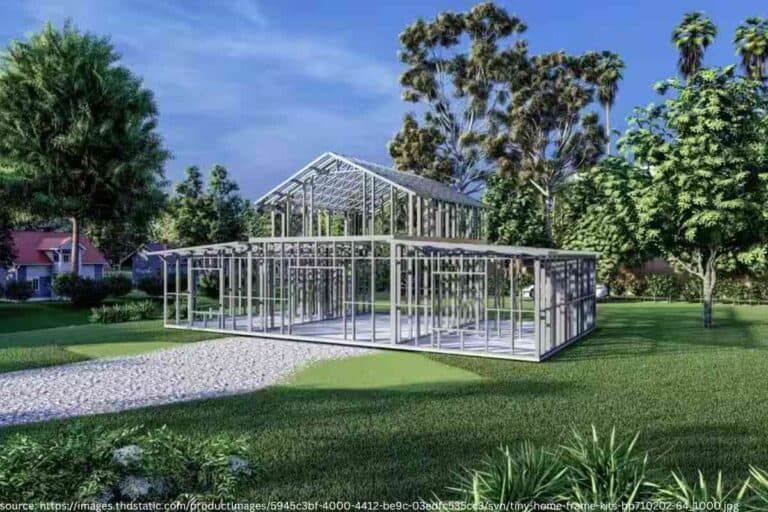
Framing the House
After the floor, the next step is to frame the house’s walls and ceiling. Since it’s a tiny house, you might not have too many walls to build; it could be as simple as four outside walls with a door and a couple of rough openings for windows. Your plans should tell you what walls you need to build.
Using metal bracers to help keep your walls and roof square can really save you a lot of headache during the building process. It’s absolutely critical to make sure your walls are plumb, level, and square – it will cause significant issues later in the construction if you’ve got slanted walls.
Make sure you’re using your anchor points to attach to the bottom of your wall. These anchors are typically large bolts that are welded to the trailer. A hole in the bottom of your wall frame slides over the bolt, then you just tighten a nut down around it. Here’s a great article on framing out your walls and roof, and how to do it easily and quickly.
Once it’s been framed, you’ll sheath the outside in OSB or plywood again. Next, it’s on to the exterior of the house.
Roofing, Windows/Doors, and Siding Installation
Roofing your tiny house won’t be too difficult, but it’s one of the first things you do so that you can protect your house during construction. After roofing, you’ll wrap the outside of your house in Tyvek waterproof wrap or something similar.
In between wrapping and siding, you’ll install your windows and doors so you can cut your siding around them.
After you’ve finished roofing your tiny house and you’ve wrapped the outside, you can install your windows and doors. You do it this early because if you put your siding up first, you may have to work around it to get your doors and windows to fit in the openings.
If you install your doors and windows first, though, you can just cut the siding to snugly fit them.
Once you’ve installed the doors and windows, it’s time to put up your siding. Remember, start from the bottom and work your way to the top, so water runs down but not into the siding. After you’ve sided your house, the exterior is pretty much all set.
Plumbing
Before you start working on the interior, you’ll need to install the plumbing that runs through the walls and out the trailer. In general, you’ll have two types of plumbing; lines that bring fresh water to your various faucets, showers, and toilets, and drains that take dirty water out of the trailer.
If you have a trailer, you’ll likely have a water hookup on the exterior or underneath your trailer, along with a drain outlet as well.
You may consider hiring a professional plumber if you don’t feel comfortable with doing the plumbing yourself. Hiring a plumber will be more expensive but it could be worth it to not have to deal with shoddy workmanship later.
You probably won’t be finishing your plumbing work until after you’ve installed your various appliances, kitchen, and bathroom fixtures; that’s why it’s referred to as rough in. Make sure you build in some wiggle room to account for P-traps under sinks, etc.
Electrical
When plumbing is done, it’s time to rough-in the electrical lines. Rough-in simply refers to the fact that the lines won’t be terminated at an outlet or light; you’ll be leaving them sticking out of the electrical boxes in your walls.
As with plumbing, you may want to hire an electrician for this step. It will cost you extra but electrical is nothing to mess around with, and if you don’t know what you’re doing, you could run into issues.
However, there are plenty of guides and tips online, as well as great videos showing you exactly what you need to do.
You won’t be finishing up your electrical until after you’ve put up your walls, but it’s important to run your lines through the walls prior to drywalling.
It’s also important to make sure everything is good before you move onto drywalling; you don’t want to be adding demolition to your list of things to do!
HVAC
Yet again, HVAC might be something you want to hire a professional for. Whatever you’re planning for your heating and cooling solutions, you’ll want to make sure the HVAC system is installed correctly and doesn’t have any leaks. These can really cause issues with your utility consumption, and they’re hard to fix later on.
At its most basic, an HVAC system includes a supply and a return. The supply runs from the furnace or air conditioner and brings the hot or cool air to the interior space, while the return takes used air out of the space and back to be recycled. You’ll also want to make sure you have some ways to ventilate your tiny home.
You can find good options for heating and cooling your tiny house here. Of course, if you’re planning on just having a small air conditioner (which is probably your best bet), you don’t need to worry about one part of the HVAC system.
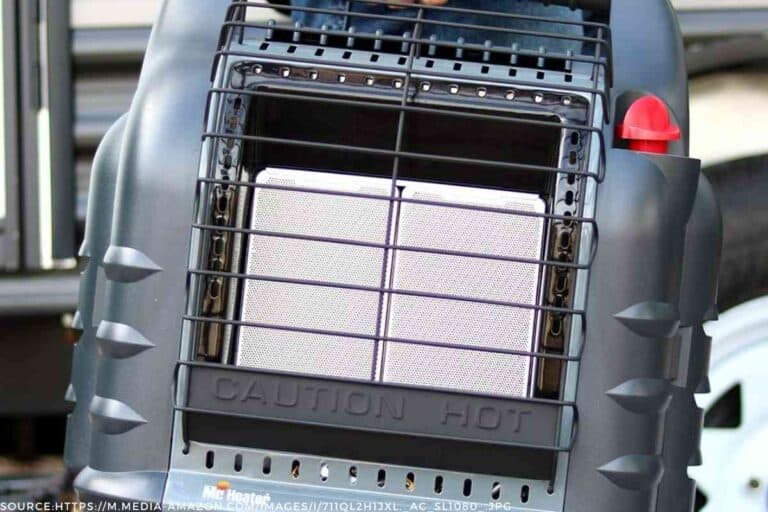
For heating, you could use any of the following methods:
- Space heaters
- Heated floors
- Fireplace – wood burning or electric
- Forced air
Each of these methods has its own pros and cons to it. Do some more research to determine the best way to meet your individual needs.
Insulation
Insulating your tiny home will help keep it energy efficient, so it’s an important step in the construction process. Otherwise, your house will be freezing in the winter and sweltering in the summer.
Insulate the walls, the floor, and the ceiling with high-grade insulation to accomplish this. Make sure you fill any possible cracks or leaks with spray foam or caulk to seal the house.
Drywall and Paint
Once you’ve insulated, you’ll be sheathing the inside of the house. Drywall is cheaper than wood, but its up to you which way you go. Once you’ve put up your drywall, you’ll paint the interior.
Flooring
Right after you finish sheathing the interior of your house, you can install the flooring.
A nice luxury vinyl plan (LVP) floor is a relatively inexpensive option, and it has the added bonus of being waterproof. Otherwise, you can use a hardwood, carpeting, or something else. What you choose is up to your budget and the look you’re going for.
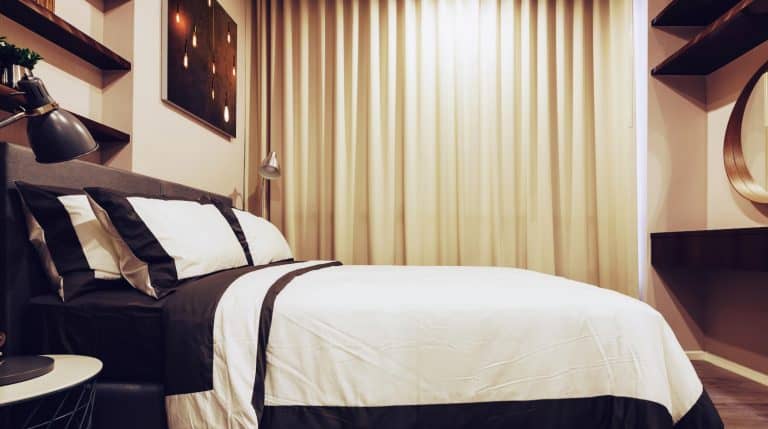
Finishing and Fixtures
Once you’ve installed the flooring, the next step is to put in your cabinetry, storage spaces, install beds or shelves, etc. The internet abounds with examples of clever ways to maximize tiny home space, and you’re really only limited by your own creativity and imagination.
You’ll also be installing lights, smoke detectors, outlets, and bathroom fixtures, among other things during this step. This is also the step you’ll be putting finishing touches on the interior of your home, like trim work.
You might even have actually moved into the house at this point, since almost everything is installed and done.
Appliances
You’re probably going to be using small appliances throughout your house to keep the weight down as well as the space required.
There are plenty of options out there for appliances, but one thing you’ll want to keep in mind is whether they all run on electricity and, if so, how much electricity they consume.
Once you’ve installed your appliances, you’re pretty much done with your tiny house. You can sit back, relax, and enjoy your new living space.
Closing Thoughts
Even though a tiny house is, well, tiny, there’s something incredibly liberating about it that attracts so many people.
Tiny homes have exploded in popularity not only because of how much potential they have to lower cost of living expenses, but also because of the appeal that minimalism has in today’s consumer culture. A tiny home offers an escape from all of that.
Hopefully, this guide gave you an idea on how to get started on building your own tiny home. There are a lot of sub-steps involved in each of the steps above, but there are plenty of resources online to teach you how to install floors, build walls, or put in fixtures.
It’s not easy to build your own tiny house, but plenty of people with zero prior experience have done it. Why not you?